A practical HVAC filter and fresh-air routine
Filter changes, exhaust, and outside-air decisions work best as a small routine—not as a promise that one product solves every indoor-air concern.
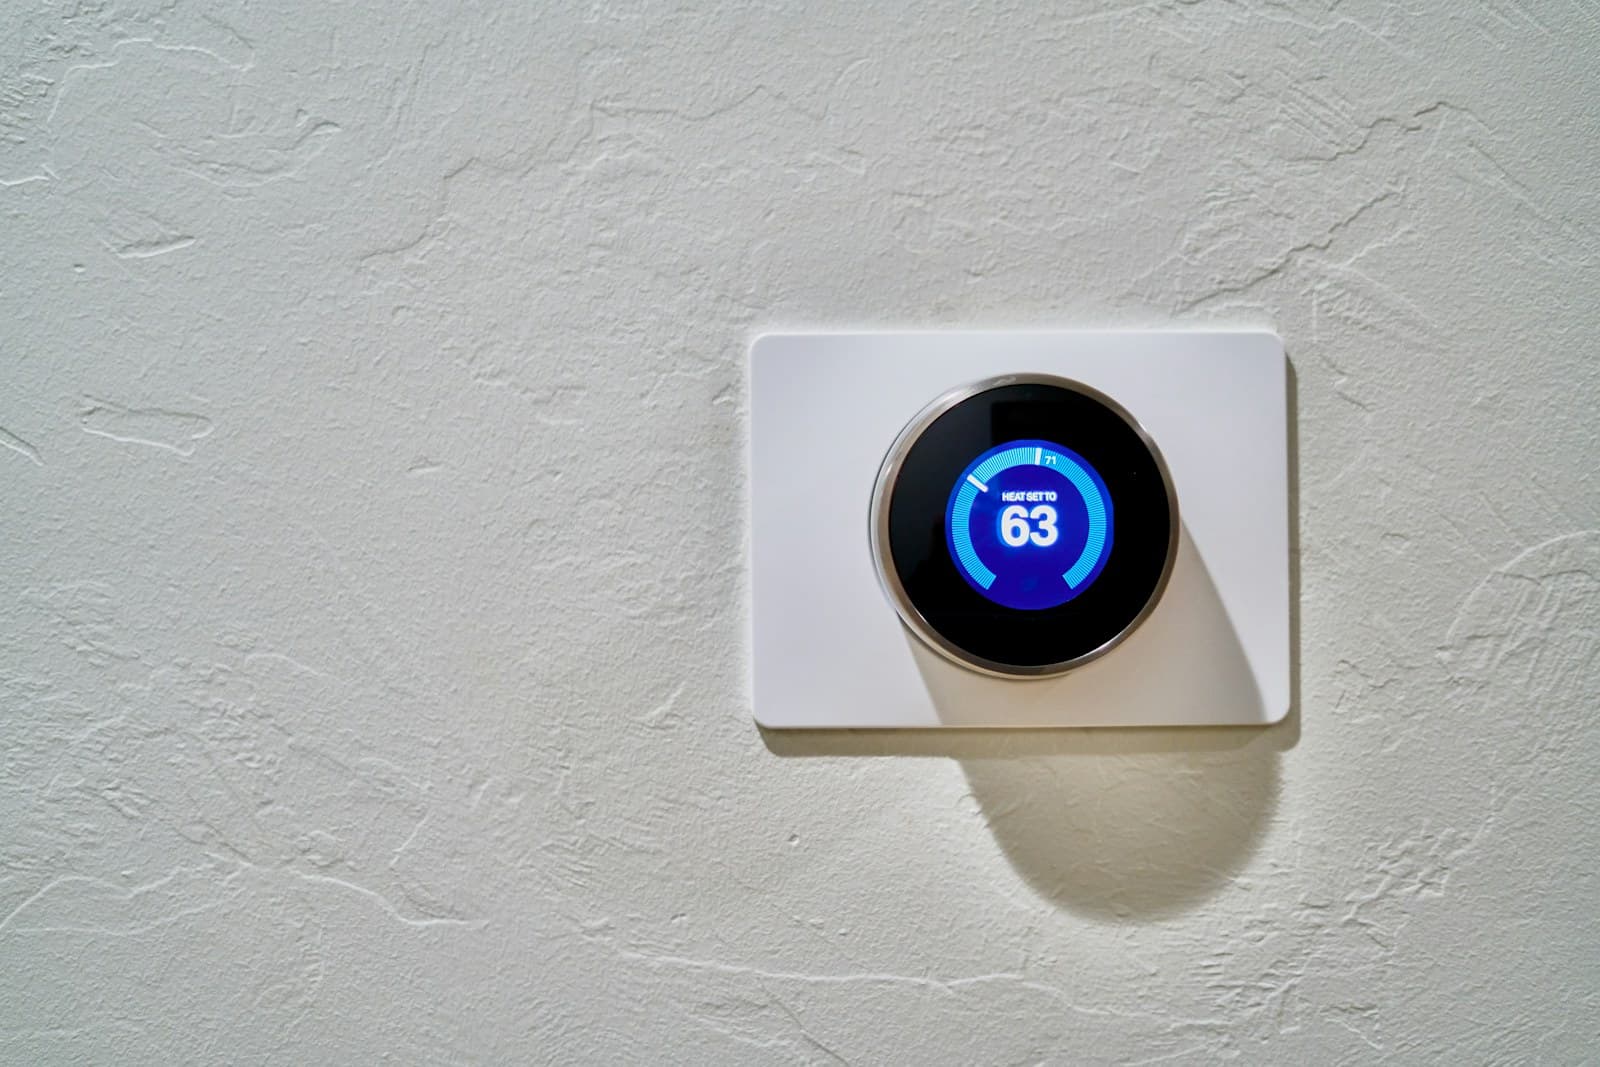
A central HVAC filter protects equipment and can reduce particles circulating through a compatible system. It does not supply outdoor air, remove every pollutant, or replace kitchen and bathroom exhaust. Good indoor-air decisions begin by separating filtration, ventilation, moisture, and source control.
Before upgrading a filter, find the equipment manual and the exact filter dimensions. A denser filter can create an airflow problem in a system not designed for it. If there are combustion appliances, suspected mold, smoke, or a health concern, use the appropriate professional or public-health guidance.
The short answer
Use the filter size and replacement interval specified for your system, keep supply and return paths open, and address a moisture, combustion, or contamination source directly.
Find the manufacturer instruction
Identify the air handler or furnace, filter location, and recommended filter specification. Turn the system off only as the manual instructs before accessing a filter.
Inspect before replacing
Check for visible loading, damage, moisture, or a poor fit. Replace it on the system’s schedule or sooner when it is visibly dirty, rather than following an arbitrary calendar alone.
Install with the airflow arrow correct
Match the filter size and arrow to the direction of airflow. A bowed, wet, or loose filter can bypass or restrict air; do not force a different size into the slot.
Pair it with ordinary ventilation
Use properly vented kitchen and bath exhaust during moisture-producing activities. Open windows only when outdoor air quality, weather, security, and local guidance make it appropriate.
Call for a system assessment when needed
Ask an HVAC professional to assess persistent airflow or indoor-air concerns, duct condition, filtration compatibility, and any fresh-air equipment. Share filter dates, photos, symptoms, and room patterns.
Use a four-part air log
Separate the concern into filter condition, outdoor-air conditions, local exhaust, and a possible source such as moisture or combustion. That comparison prevents a filter upgrade from becoming the answer to the wrong problem.
Put the guide to work
Field notes
- Record the actual filter
- Photograph the label, note dimensions and airflow direction, and keep the replacement date in the home record. Do not assume every return uses the same filter or that a higher rating is always suitable.
- Keep airflow paths open
- Furniture, rugs, and closed interior doors can affect returns and room pressure. Leave registers and returns as the system was designed unless a qualified technician advises otherwise.
- Use local exhaust
- Kitchen and bathroom exhaust address pollutants and moisture where they are created. Verify that ducts terminate outdoors; recirculating equipment and a central filter serve different functions.
- Investigate changing conditions
- New odors, soot, unusual dust, repeated condensation, a CO alarm, or worsening respiratory symptoms deserve source-specific investigation. Do not add fragrance to make a problem less noticeable.
Make the next step useful
Put this guide on your home plan
Know when to call a professional. Stop if work involves active gas leaks, damaged service wiring, structural movement, unsafe heights, suspected contamination, or a problem you cannot confidently isolate.
Editorial review and sources
Reviewed by: Smart Homeowners Editorial Desk
Last reviewed: August 25, 2026
Original Smart Homeowners editorial; not adapted from a third-party article.