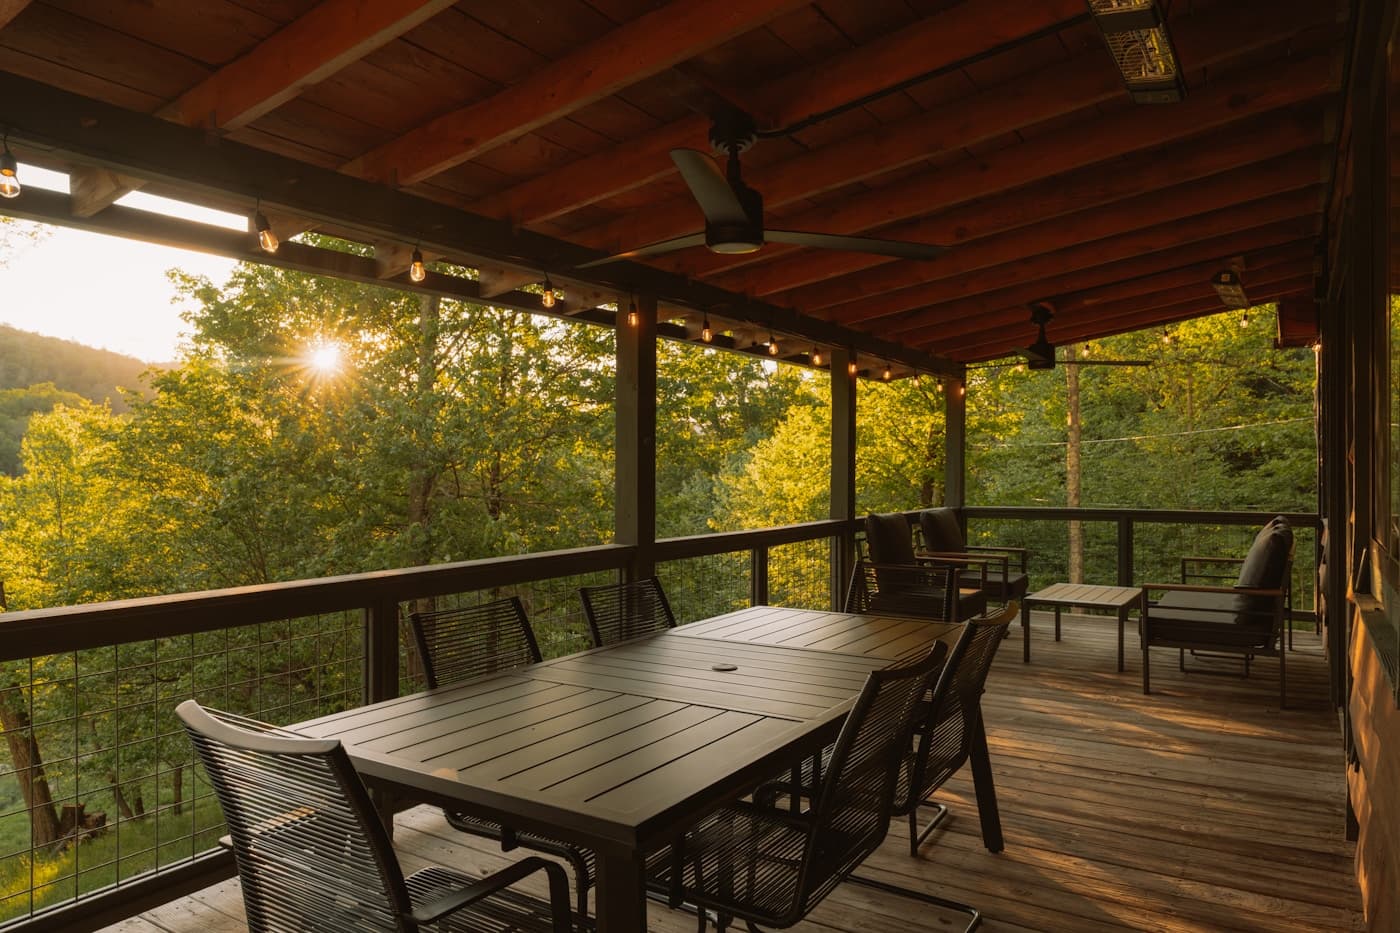
A seasonal outdoor inspection that catches small upkeep before it becomes a project
Walk the exterior with a repeatable order: water, roofline, walking surfaces, plants, and safety equipment.

Weather changes expose the outside of a house to water, wind, sun, roots, and regular use. A single seasonal loop helps connect small clues—loose handrails, an eroding downspout outlet, a cracked path, or a branch against the roof—before they disappear into daily life.
Use daylight, stable weather, and the ground as your working surface. This is not a roof, tree-climbing, electrical, or structural inspection. The point is a documented list that can be prioritized by safety, water control, and normal upkeep.
The short answer
A seasonal walk is about noticing change. Photograph and date loose, worn, or water-damaged areas, handle only simple ground-level tasks, and use the right professional before a small condition becomes a safety issue.
Photograph the whole exterior first
Take wide shots of each side before focusing on a defect. Include roofline, trees, drainage paths, and hardscape so a future contractor can understand the context.
Follow water from roof to ground
Look for gutter overflow evidence, downspout disconnections, ponding, damaged caulk, and water contacting siding. Note the timing after rain or irrigation.
Check paths, stairs, and rails
Walk slowly and note changes in level, cracks, loose fasteners, slippery growth, and lights that do not operate. Repair hazards in priority order, especially on common entries.
Inspect vegetation from a safe distance
Look for branches rubbing the building, dead limbs, blocked visibility, and irrigation hitting walls. Use an arborist for large limbs, damaged trees, or any work near utility lines.
Turn observations into a seasonal list
Sort notes into immediate safety, water-management, routine maintenance, and later improvements. Include photos and dates with every contractor request so the work addresses the observed condition.
Use a four-bucket walk-through log
At the end of the loop, place each finding under safety now, water control, routine upkeep, or planned improvement. Add the location, photo, date noticed, and next step. Escalate an active leak, unstable rail, damaged tree, or electrical concern instead of adding it to a future cosmetic list.
Put the guide to work
Field notes
- Take the same route
- Start at the street or driveway and move around the building in the same direction every season. Repeated photos make changes easier to spot.
- Put water first
- Look at gutters, downspouts, splash areas, grading, irrigation overspray, window wells, and exterior penetrations before focusing on cosmetic tasks.
- Check the walking path
- Note loose steps, uneven paving, deteriorated handrails, poor lighting, and low branches. Mark a hazard for prompt repair rather than waiting for a full landscape project.
- Keep work at ground level
- Do not use ladders in poor conditions, trim branches near power lines, or open electrical enclosures. A good inspection can end with a professional scope of work.
Make the next step useful
Put this guide on your home plan
Know when to call a professional. Stop if work involves active gas leaks, damaged service wiring, structural movement, unsafe heights, suspected contamination, or a problem you cannot confidently isolate.
Editorial review and sources
Reviewed by: Smart Homeowners Editorial Desk
Last reviewed: August 25, 2026
Original Smart Homeowners editorial; not adapted from a third-party article.