What to plant now for an easier spring
Use cooler soil and seasonal rainfall to establish the plants that will reward you next year.
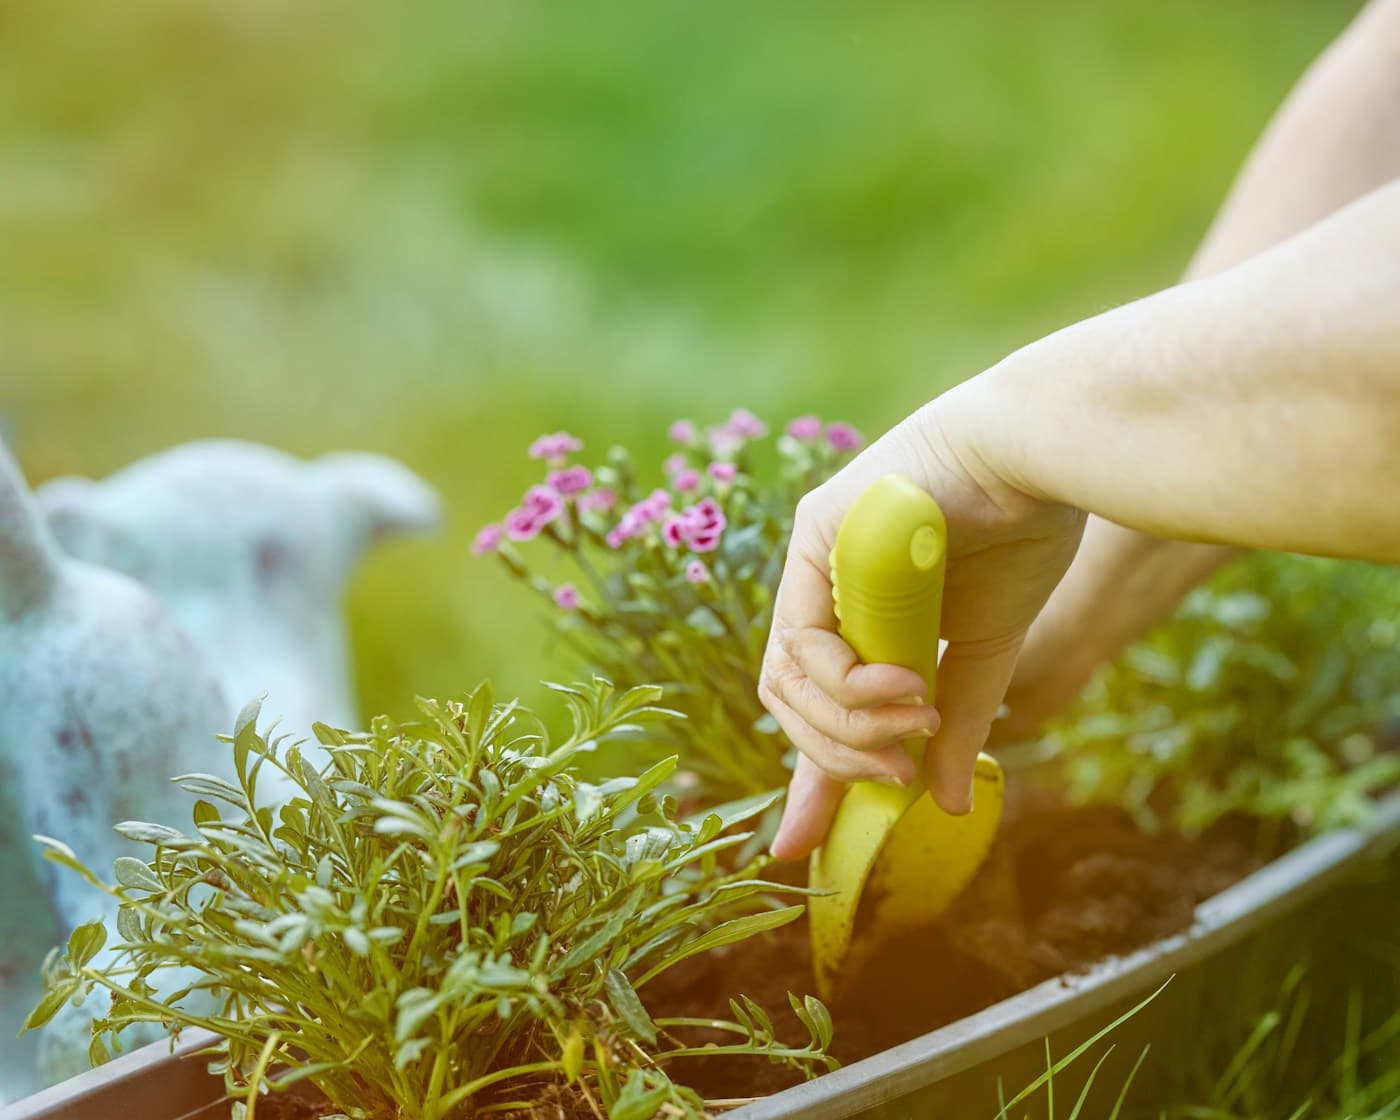
Fall planting can help many plants establish roots before spring, but the calendar, soil temperature, rainfall, and plant choice are local. A store display is not a planting plan. The strongest spring display begins with a site that can support the mature plant—not with the most flowers in a nursery pot.
Use a county extension service, public garden, or native-plant resource for local timing, invasive-plant concerns, frost patterns, and water guidance. Bulbs, perennials, shrubs, and trees are not interchangeable purchases: each has a different planting depth, establishment period, and consequence if placed too close to a house or utility.
The short answer
The right plant in the right place will outperform intensive care every time.
Read the site through a season, not a single afternoon
Map full sun, part shade, reflected heat, wind, drainage, irrigation reach, and the spots that stay wet after rain. A south-facing wall, a dry slope, and a shaded foundation bed can sit within a few yards of one another and still need entirely different plants.
- Measure light
- Observe the area at several times of day and in the season when nearby trees have leaves. A label's 'full sun' or 'part shade' is a starting category, not a guarantee for every microclimate.
- Watch water
- Note whether water runs off, ponds, or disappears quickly. Do not solve persistent drainage at the foundation by selecting a moisture-tolerant plant; correct the building-water problem first.
- Plan mature size
- Use reliable mature height and width information, then leave room for airflow, maintenance, windows, walkways, utilities, and future access. Crowding creates pruning, disease, and irrigation problems that show up years later.
Choose a plant class before choosing a color
Decide whether the space needs bulbs for a short spring display, a perennial that returns, a shrub that provides structure, or a tree whose future shade and roots are acceptable. Then choose bloom timing and color within that class. This avoids treating every empty bed as a perennial border.
- Bulbs
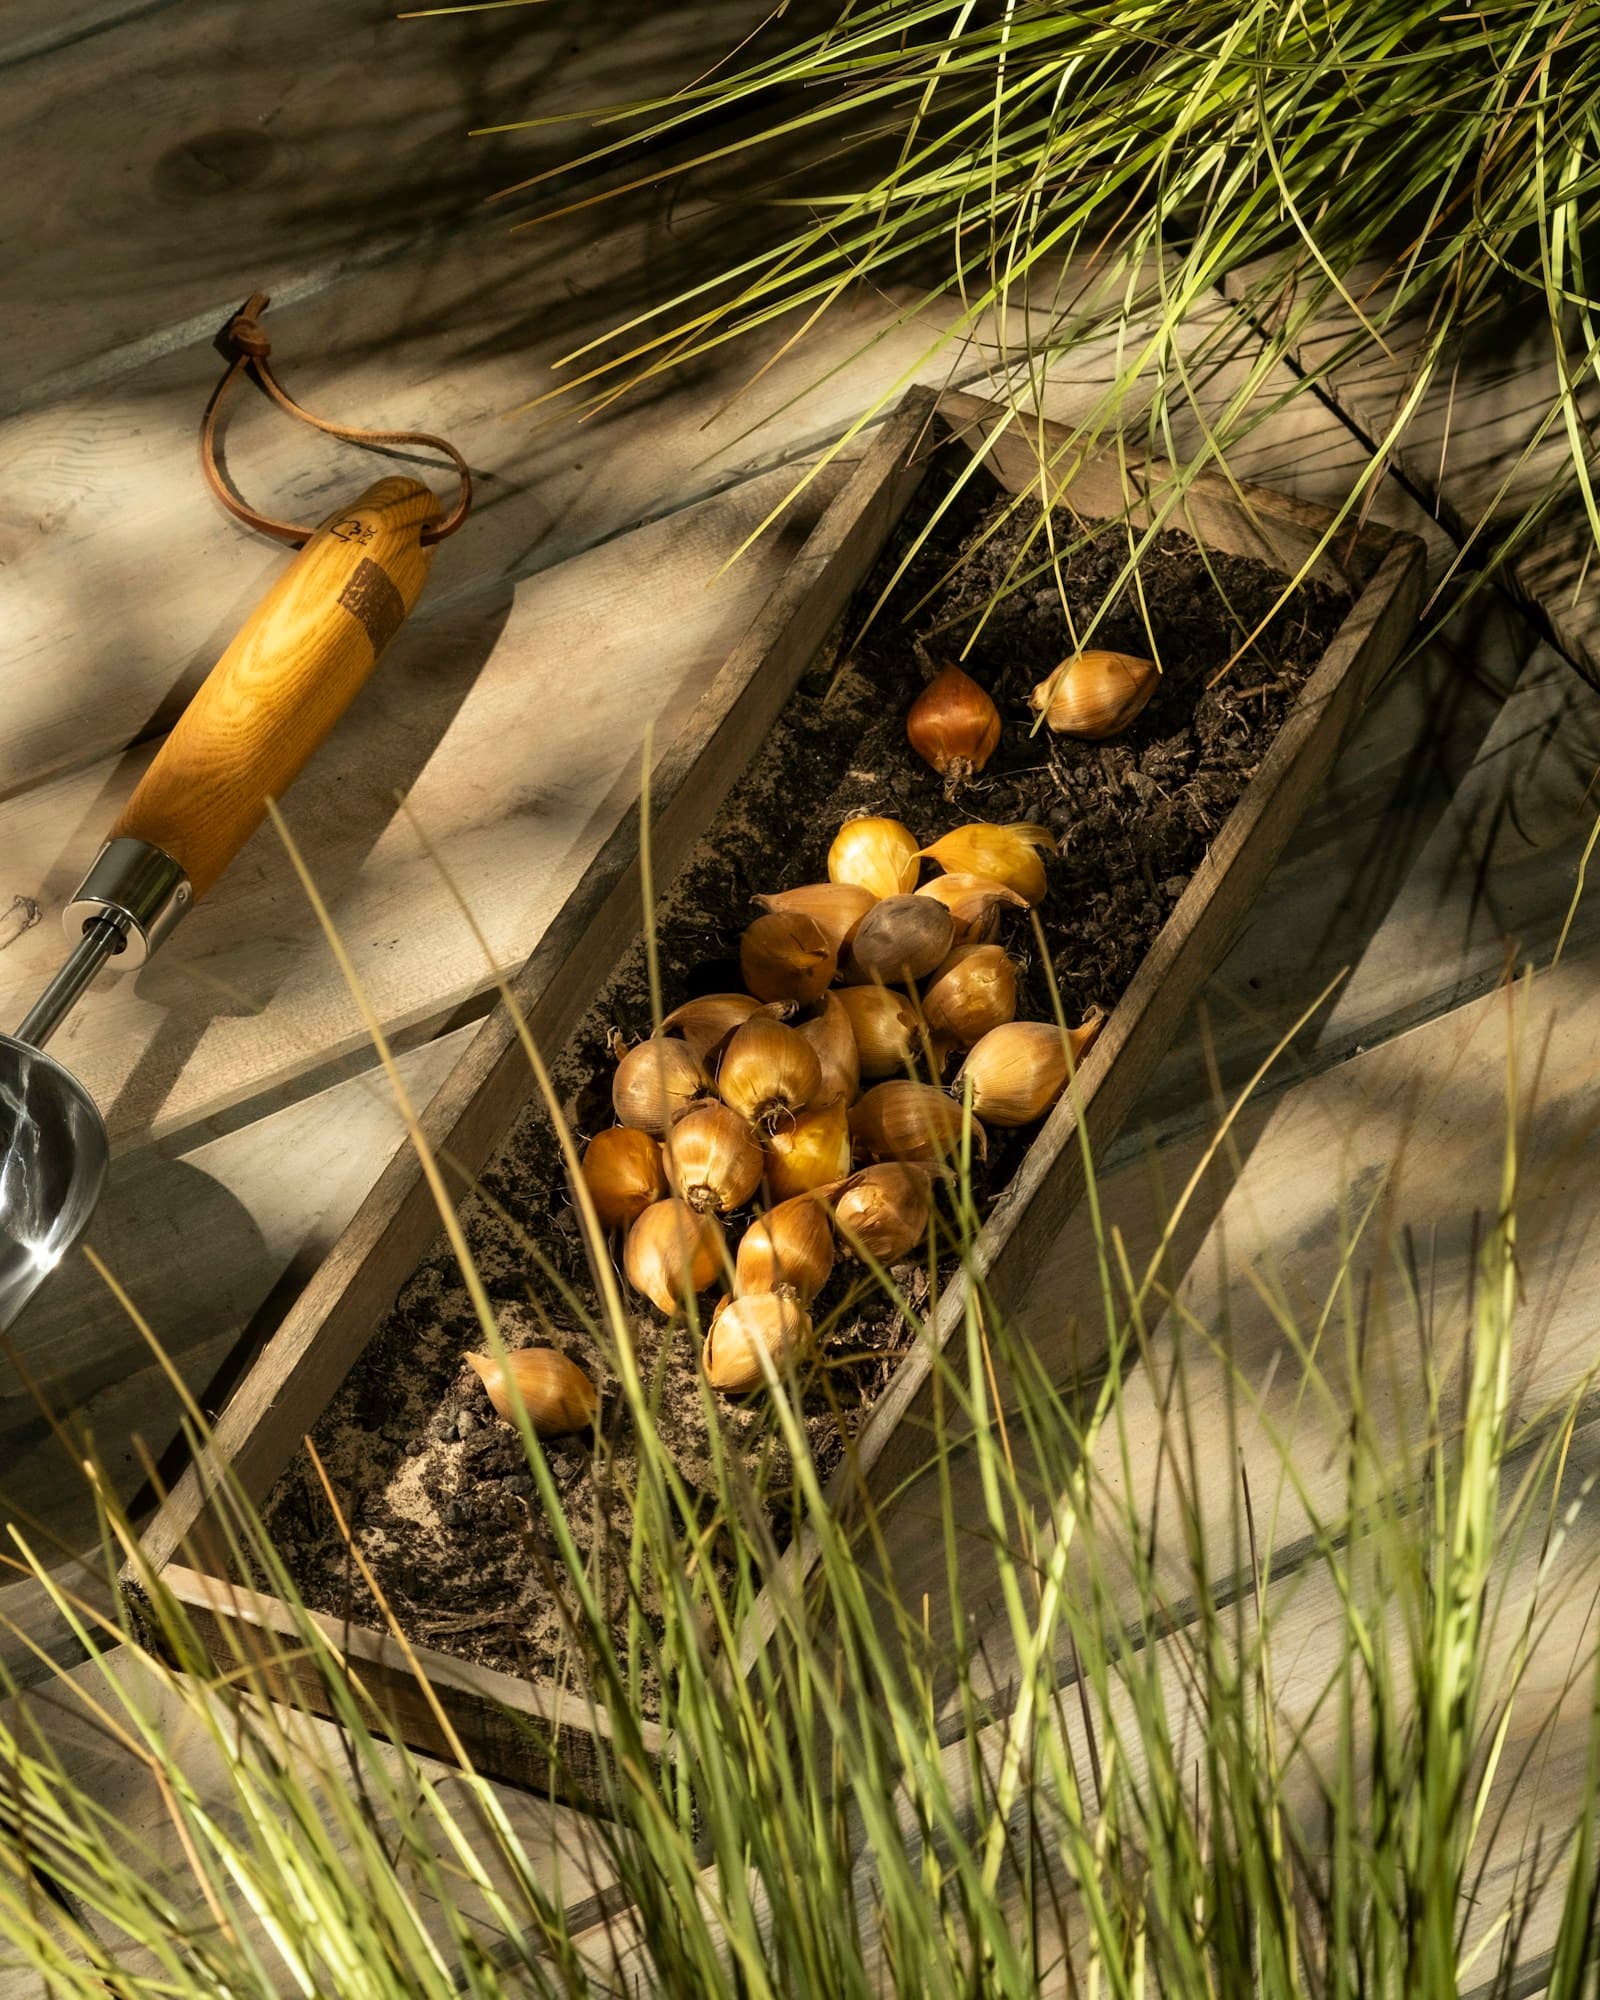
- Confirm species-specific planting depth, spacing, chill needs, and local timing. Protect them from known wildlife pressure with approaches appropriate for the site rather than assuming one deterrent works everywhere.
- Perennials
- Choose for mature spread, maintenance tolerance, and bloom sequence. A mix of early, mid-, and late-season flowers can be more useful than many plants with the same short display window.
- Woody plants
- Treat trees and shrubs as long-term infrastructure. Keep mature canopy and roots away from structures, power lines, septic systems, and sidewalks according to local guidance; call before digging where utilities may be present.
Inspect the plant before bringing it home
Look for a label that identifies the botanical name or cultivar, mature size, light, and care needs. Reject plants with severe wilt, obvious pests, damaged trunks, circling roots that cannot be corrected safely, or signs that the root ball has dried out repeatedly.
- Check roots
- Container roots may circle after a long stay in a pot. Follow extension guidance for the plant type; do not tear apart a root ball indiscriminately or bury it deeper to hide a poor root flare.
- Check the trunk
- For trees and shrubs, find the trunk flare—the widening where roots begin. Planting it too deep can create long-term stress and decline, even if the plant appears fine for a season.
- Avoid mystery treatments
- Do not apply fertilizer, pesticide, or herbicide simply because a newly purchased plant looks imperfect. Identify the condition, read the label, and consider local extension advice first.
Prepare a broad, shallow planting area
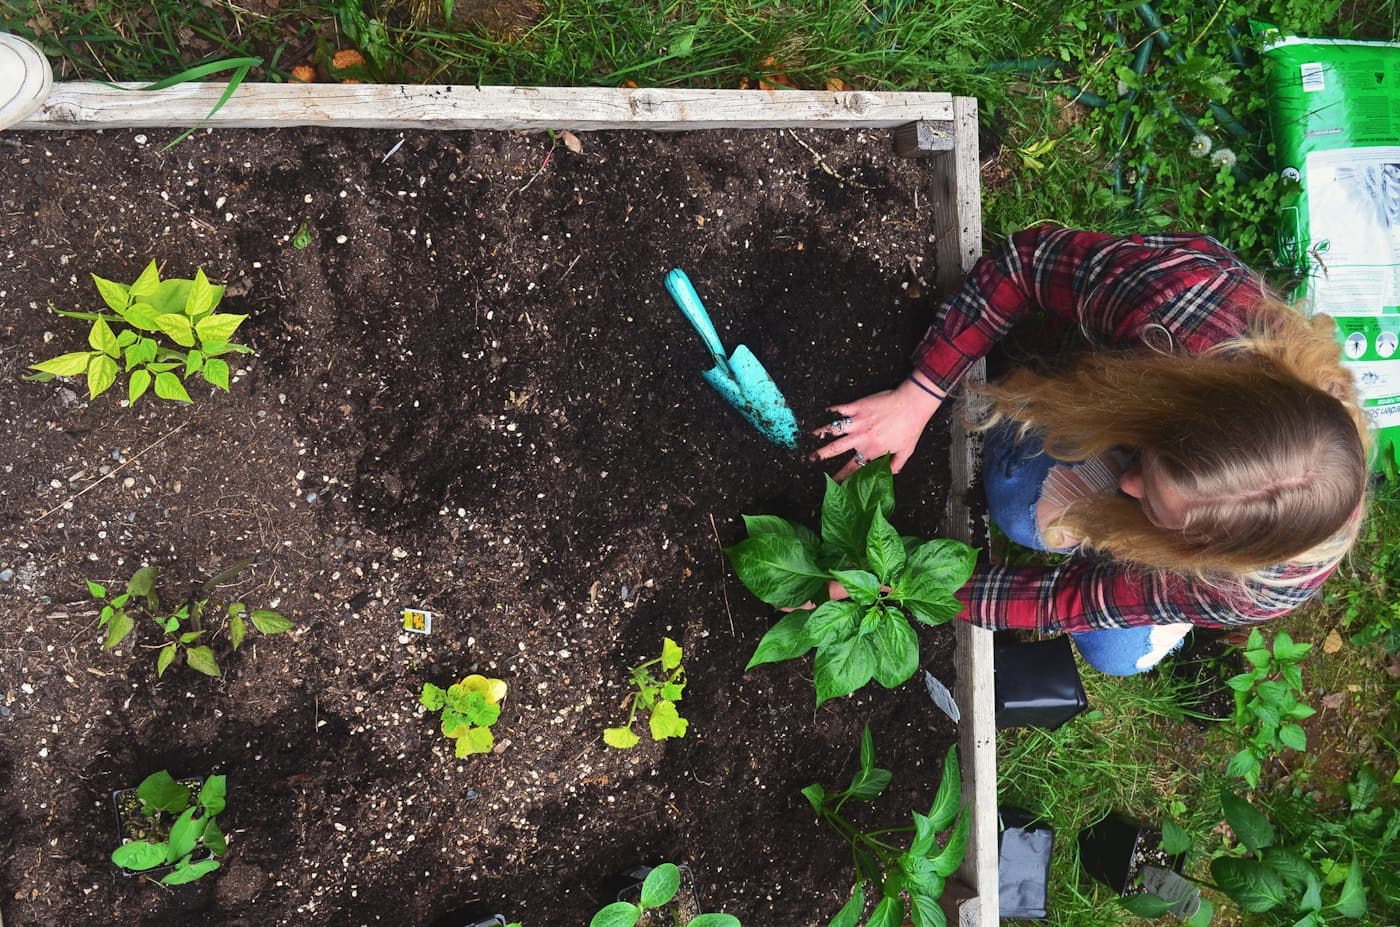
Call before digging when required, locate irrigation and other site constraints, and prepare the hole or bed according to the plant's instructions. The goal is stable soil contact and correct depth, not a heavily amended pocket that keeps roots circling in one spot.
- Set the depth
- Set woody plants at the recommended depth with the root flare visible; follow bulb and perennial labels for their different depth requirements. Do not mound soil against stems or trunks.
- Backfill deliberately
- Use excavated soil unless local guidance or a soil test supports a specific amendment. Firm gently to remove major air pockets without compacting the planting area into a bowl.
- Mulch correctly
- Use a modest layer suited to the plant and keep it back from crowns and trunks. Mulch is not a substitute for watering, drainage, or correct plant placement.
Water for establishment and write down what you planted
Water the root zone after planting, then check moisture below the surface rather than watering by calendar alone. Rain, heat, wind, soil texture, and mulch all change the schedule. Label the plant and save its tag or a photo with the date and location.
- Check before watering
- Use a finger, trowel, or appropriate moisture check at root depth. Surface soil can look dry while the root zone is wet, or look dark while the plant is dry beneath mulch.
- Make a first-season plan
- Assign someone to check new plantings during warm or windy periods and after extended rain. Newly planted material can fail from both drought and prolonged saturated soil.
- Revisit in spring
- Photograph emergence, flowering, and any winter damage. That record supports pruning, replacement, and next year's planting choices without relying on memory.
Put the guide to work
Field notes
- Read the site
- Map sun, shade, drainage, wind, irrigation reach, and mature size before selecting a plant. A good plant in the wrong microclimate becomes a maintenance problem.
- Check the root flare
- For trees and shrubs, find the root flare and follow extension guidance for planting depth. Do not bury the trunk flare beneath mulch or soil.
- Water by observation
- Check soil at root depth and adjust for rain, heat, wind, and mulch. Newly planted material needs monitoring even in cool weather.
- Avoid invasive choices
- Confirm suitability with a local extension or native-plant resource. Do not move soil, treat pests, or apply fertilizer without understanding the local condition and label.
Make the next step useful
Put this guide on your home plan
Know when to call a professional. Stop if work involves active gas leaks, damaged service wiring, structural movement, unsafe heights, suspected contamination, or a problem you cannot confidently isolate.
Editorial review and sources
Reviewed by: Smart Homeowners Editorial Desk
Last reviewed: August 26, 2026
Original Smart Homeowners editorial; not adapted from a third-party article.