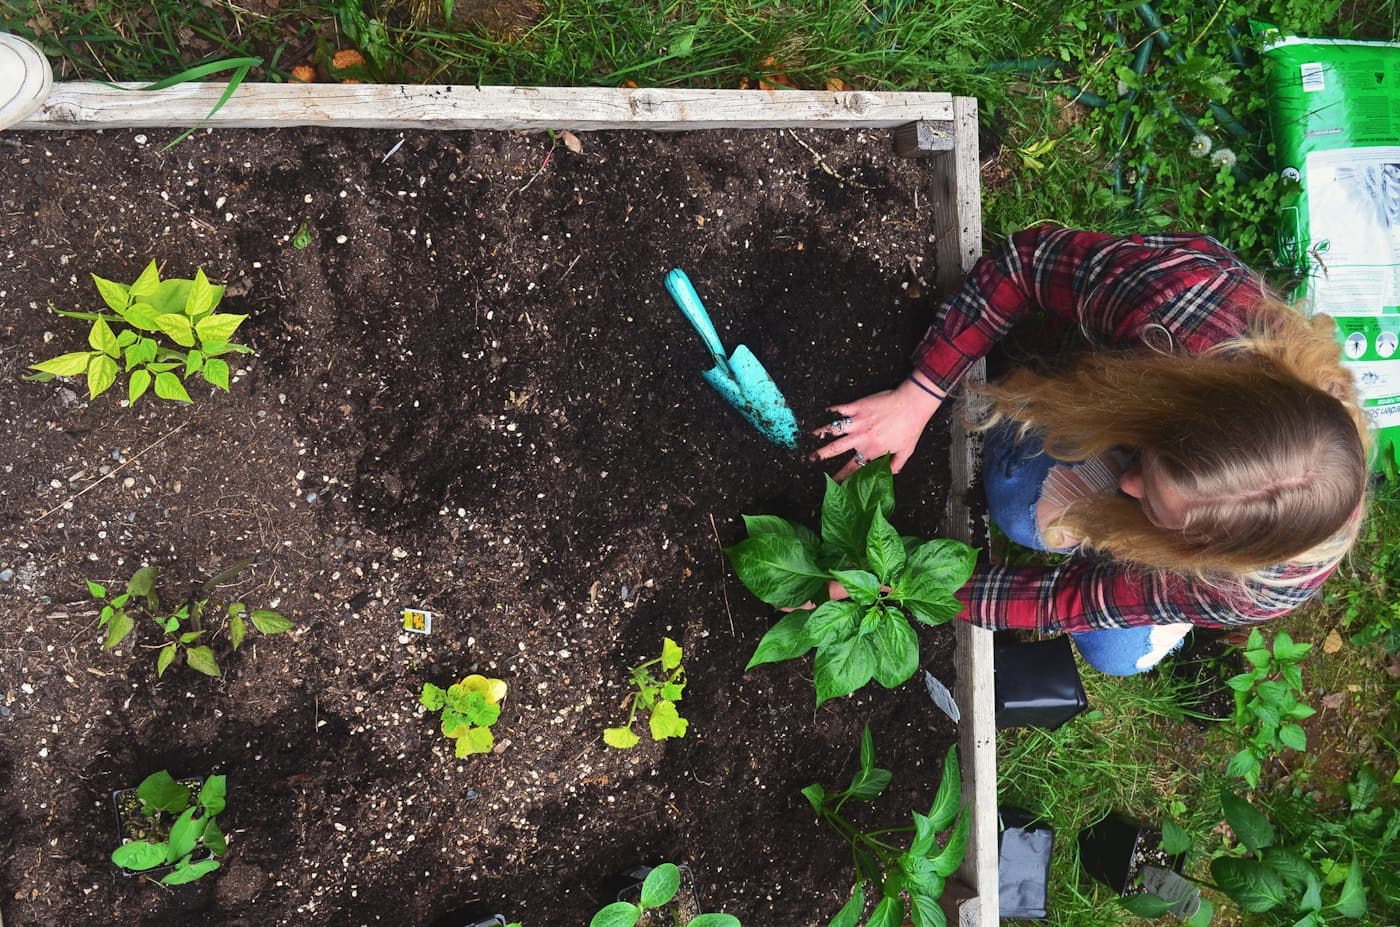
Plant spring bulbs for bloom sequence, not one weekend of color
Choose firm bulbs, match them to drainage and cold requirements, then layer early, middle, and late bloomers through the same bed.
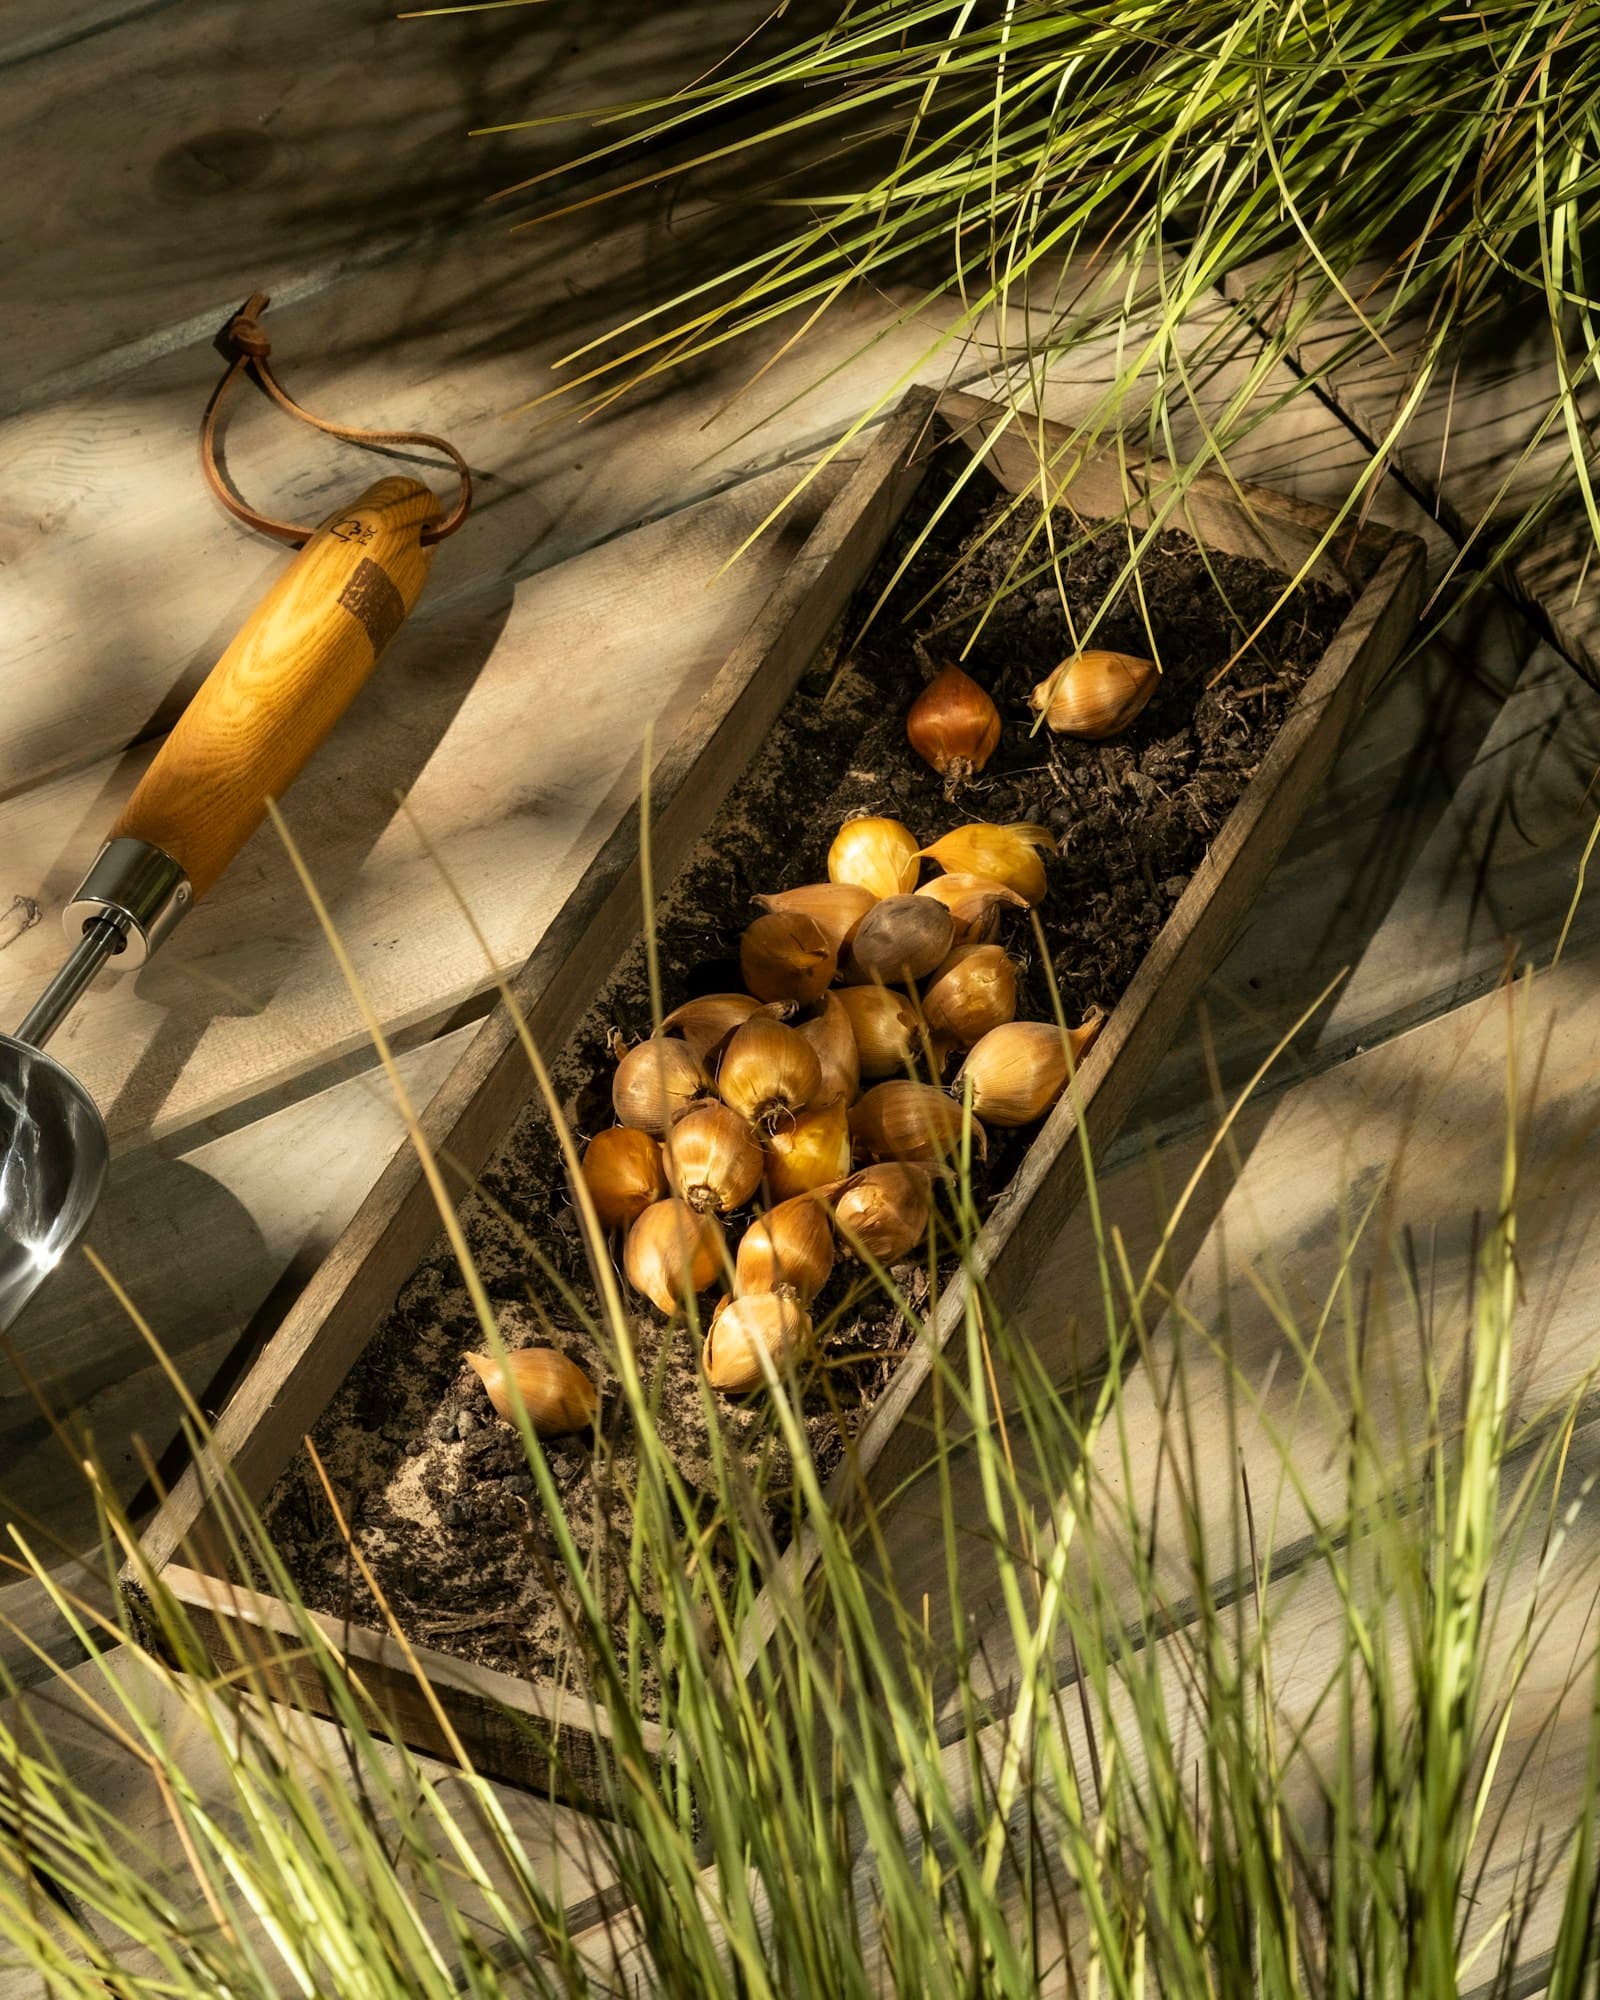
A bulb display lasts longer when planting decisions start with climate and site rather than a color photograph on the package. Cold requirements, winter moisture, drainage, animal pressure, and local planting dates can change which bulbs return and which behave as one-season plants.
Use local extension guidance to set the planting window, then read the grower’s package for the particular bulb. The sequence below is a planning framework; exact depth, spacing, chilling, and perennial performance vary by species, cultivar, and region.
The short answer
A longer spring display comes from mixing bloom times in a well-drained site and planting at the locally appropriate fall window.
Confirm the bulbs fit the climate
Many familiar spring-flowering bulbs need a cold period. Check local extension guidance for planting windows and varieties, especially in warm-winter regions where prechilling or different plants may be needed.
Buy for health before color
Choose firm bulbs without soft spots, cuts, mold, or a hollow feel. Store them cool and dry only as long as necessary, away from ripening fruit that can interfere with flowering.
Build a three-part bloom sequence
Combine early bulbs such as crocus, midseason daffodils or hyacinths, and later tulips or alliums suited to the site. Catalog bloom windows are more useful than choosing every package by flower color.
Plant for drainage and correct depth
Loosen the bed rather than drilling isolated hard-sided holes in compacted soil. Follow the package depth; extension guidance commonly describes a depth around two to three times the bulb height, measured from the base.
Water once, then protect the bed
Water after planting to settle soil and begin rooting. Add a light mulch where appropriate to moderate temperature and moisture, and mark the bed so spring digging does not disturb it.
Build a bed map for next spring
Sketch the bed and label each group by species, cultivar, color, and bloom window before covering it with mulch. In spring, note which groups flowered together, failed to emerge, or were crowded by later foliage. Use that local record to adjust spacing and sequence next fall instead of buying another mixed assortment blindly.
Put the guide to work
Field notes
- Map before buying
- Record hours of direct sun after deciduous trees leaf out, where water stands after rain, mature neighboring plants, and where spring digging usually occurs. Photograph and label the bed before planting.
- Sequence by window
- Choose at least one locally suitable early, middle, and late bloomer, then repeat small groups through the bed. Catalog bloom labels are approximate and local weather can compress or stretch the display.
- Inspect the bulbs
- Reject soft, hollow, badly cut, or moldy bulbs. Keep purchases cool and dry for the shortest practical period and separate them from ripening fruit when the extension guidance calls for it.
- Adjust locally
- Warm-winter areas may require prechilling or different species. Heavy or persistently wet soil may need another site rather than extra fertilizer. Contact the local extension office for region-specific timing and suitability.
Make the next step useful
Put this guide on your home plan
Know when to call a professional. Stop if work involves active gas leaks, damaged service wiring, structural movement, unsafe heights, suspected contamination, or a problem you cannot confidently isolate.
Editorial review and sources
Reviewed by: Smart Homeowners Editorial Desk
Last reviewed: August 25, 2026
Original Smart Homeowners editorial; not adapted from a third-party article.