The raised-bed reset to do before fall planting
Clear spent plants, check soil depth, and make space for the next crop without rebuilding the bed.
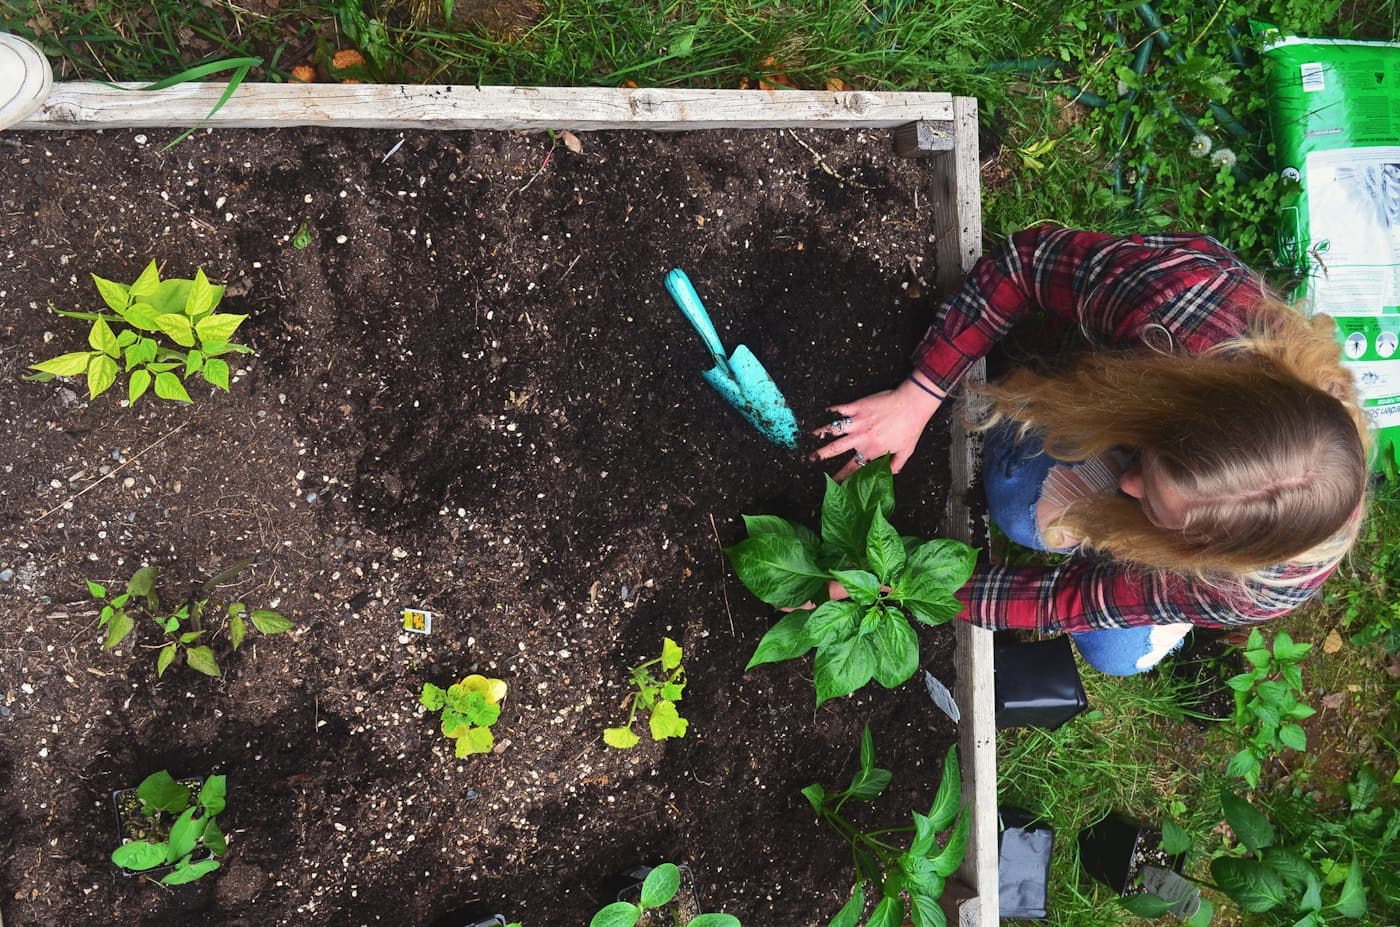
A raised-bed reset is a record-and-rebuild task, not an excuse to add every amendment at once. The useful sequence is to remove decline, identify pest or disease patterns, assess soil and structure, then plant only for the time and light remaining.
Local frost timing, soil testing, and disposal rules should guide the choices. Do not assume every plant problem belongs in a home compost system or that every bed needs fertilizer.
The short answer
A fall reset is mostly editing: remove problems, restore soil volume, and plant only what the remaining light can support.
Record the last crop before removing it
Photograph each bed, label what grew there, and note pests, disease symptoms, harvest timing, irrigation, and shade. Crop rotation is easier when the prior season is documented rather than guessed. If a plant had persistent disease or an unknown problem, do not assume that material belongs in every backyard compost pile.
- Sorting decision
- Use local extension guidance for diseased plants, invasive weeds, and municipal green-waste rules. Keep treated wood, contaminated soil, and unknown material out of edible-growing areas.
Inspect the bed itself
Check boards, metal edges, fasteners, irrigation lines, drainage, soil depth, and pathways before adding plants. A bed that stays wet, collapses at an edge, or drains onto a walkway needs a physical correction first. Take note of soil that is compacted or sharply different from the rest of the bed.
- Safety boundary
- Do not use lumber, paint, or unknown salvaged material around edible crops without verifying suitability; repair sharp edges and unstable structures before working the bed.
Test before amending
A soil test can answer whether pH or nutrient changes are warranted. Finished compost can restore organic matter and volume, but adding fertilizer, lime, sulfur, or multiple amendments without a result can create runoff, imbalance, and expense without improving the crop. Follow the local lab or extension interpretation.
- Useful record
- Save the test result, amendment amount, date, and bed location with the garden notes so the next adjustment has context.
Match the next crop to the remaining season
Find the local average frost date and count backward from days to maturity with extra time for slower autumn light. Check how the bed's sun changes as trees and structures cast longer shadows. Choose a smaller, realistic crop plan rather than filling every space with plants that cannot mature.
- Planning tool
- Make a bed map with crop, planting date, spacing, days to maturity, watering need, and planned protection before opening seed packets.
Establish and observe
Plant with access for watering and inspection, label rows, and check moisture at root depth rather than following a fixed calendar. Prepare locally appropriate row cover or other protection before cold arrives. Record what germinates, what struggles, and what the weather changes; the notes are the value of a reset.
- Call for help
- Seek local extension or qualified advice for suspected contaminated soil, repeated crop failure, unusual plant disease, or a drainage problem affecting the house as well as the bed.
Put the guide to work
Field notes
- Map the prior crop
- Photograph the bed, label the crop, note pest or disease symptoms, and record shade. This helps plan rotation and prevents repeating an unexplained problem.
- Inspect structure and soil
- Check bed sides, fasteners, drainage, soil depth, and compaction. Test soil when results will inform pH or nutrient decisions rather than adding amendments by habit.
- Sort debris carefully
- Use local extension guidance for diseased material and weeds. Keep unknown or treated wood, contaminated soil, and plant material with persistent disease out of a casual compost pile.
- Plan for the season
- Count backward from local frost dates and account for slower fall growth. Prepare safe watering access and protection before seedlings are in the ground.
Make the next step useful
Put this guide on your home plan
Know when to call a professional. Stop if work involves active gas leaks, damaged service wiring, structural movement, unsafe heights, suspected contamination, or a problem you cannot confidently isolate.
Editorial review and sources
Reviewed by: Smart Homeowners Editorial Desk
Last reviewed: August 26, 2026
Original Smart Homeowners editorial; not adapted from a third-party article.